Alert: Alert! You must have Admin credentials to create a Subscription. Notify your system admin if you feel you do not have that level of access but feel you need it.
1. Navigate to https://live.tatvamanalytics.com/login
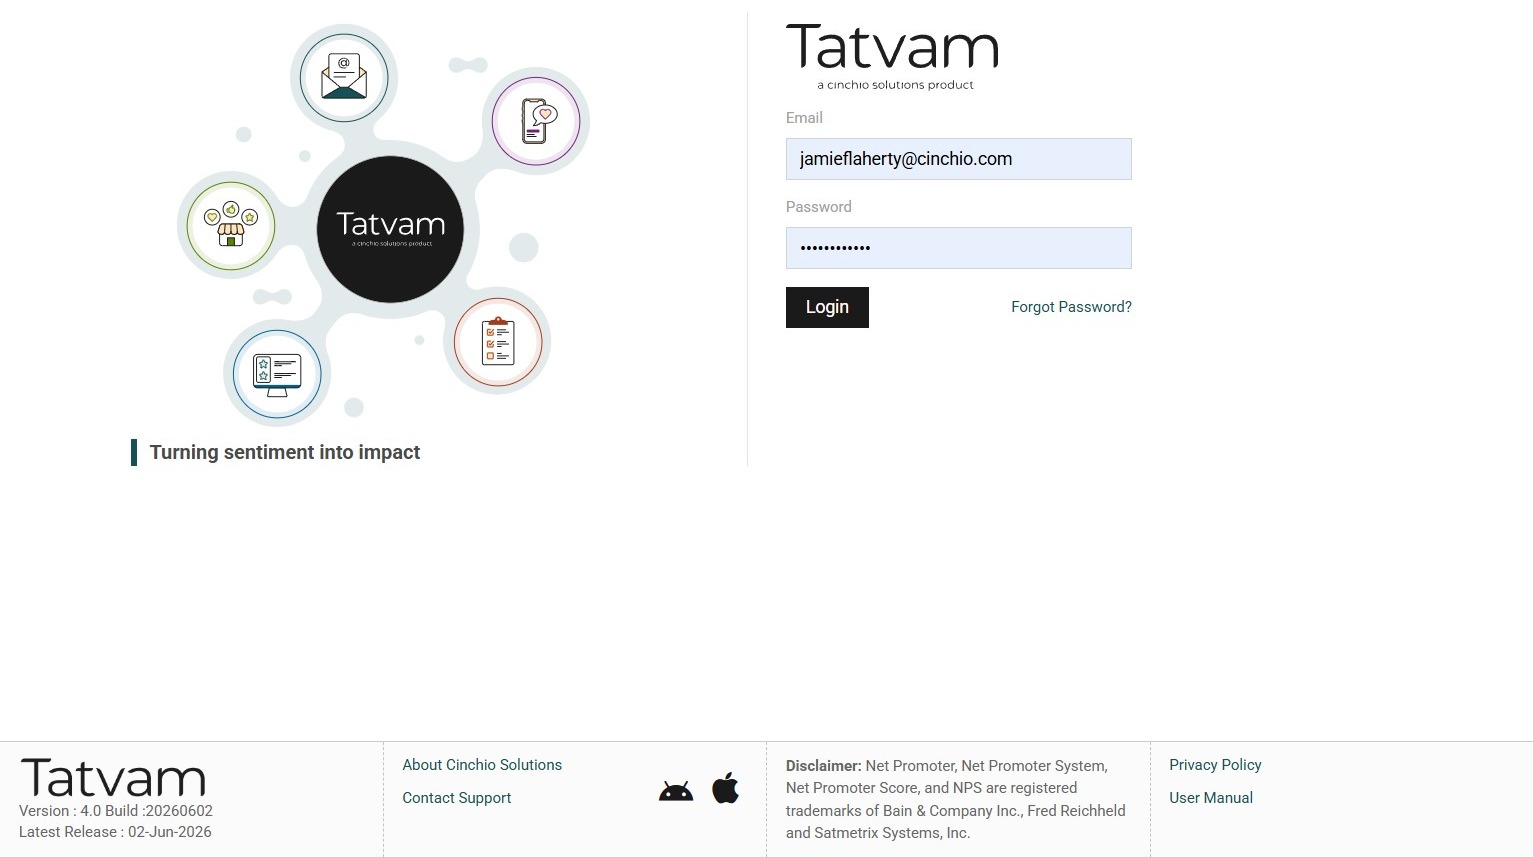
2. Enter your email address
3. Enter your password
4. Click "Login"
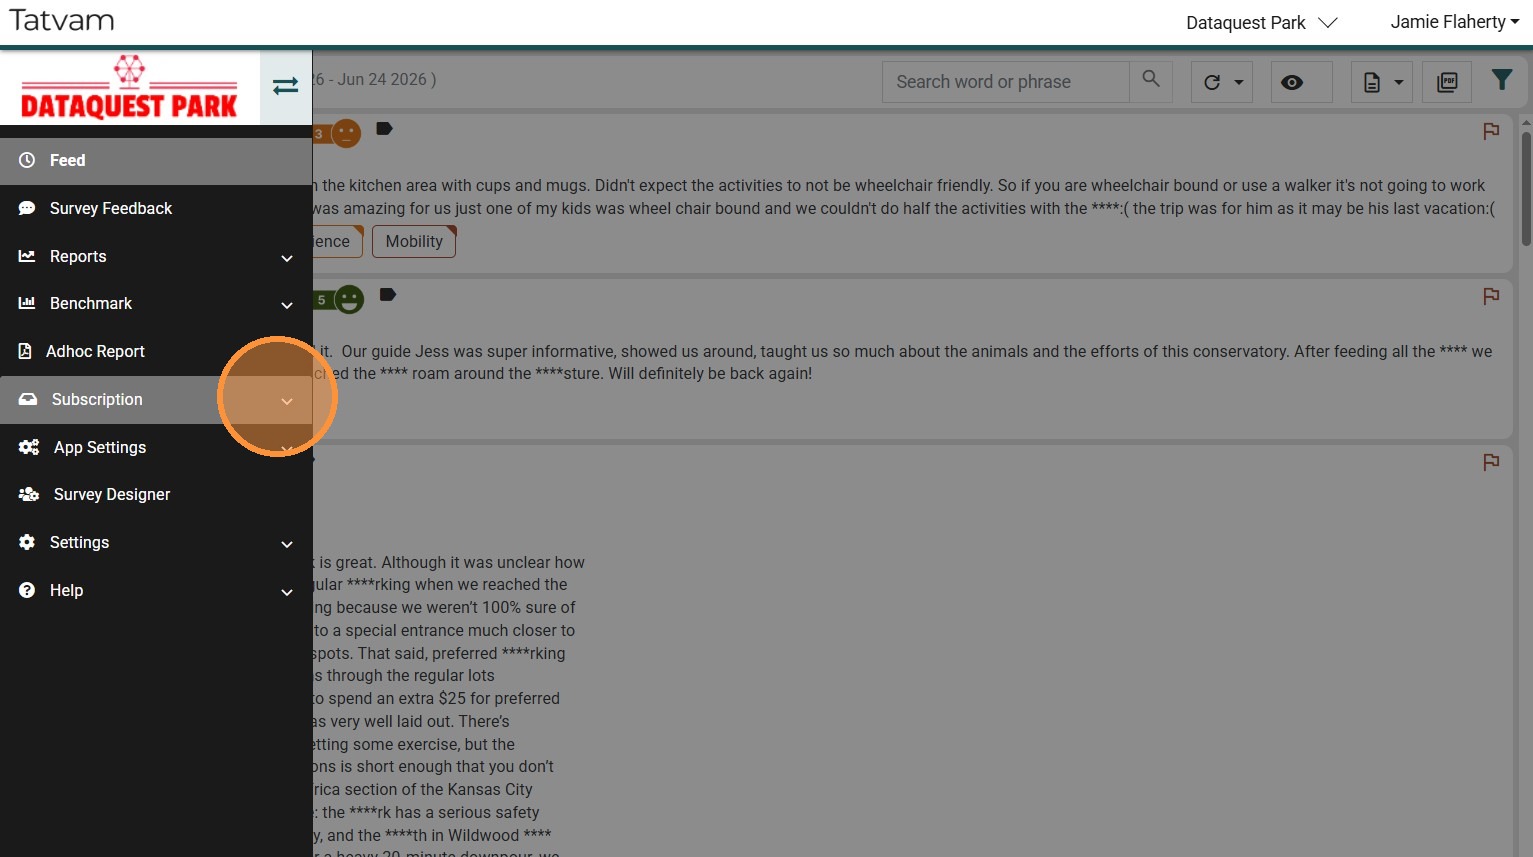
5. Click here to expand the left navigation bar
6. Click "Subscription"
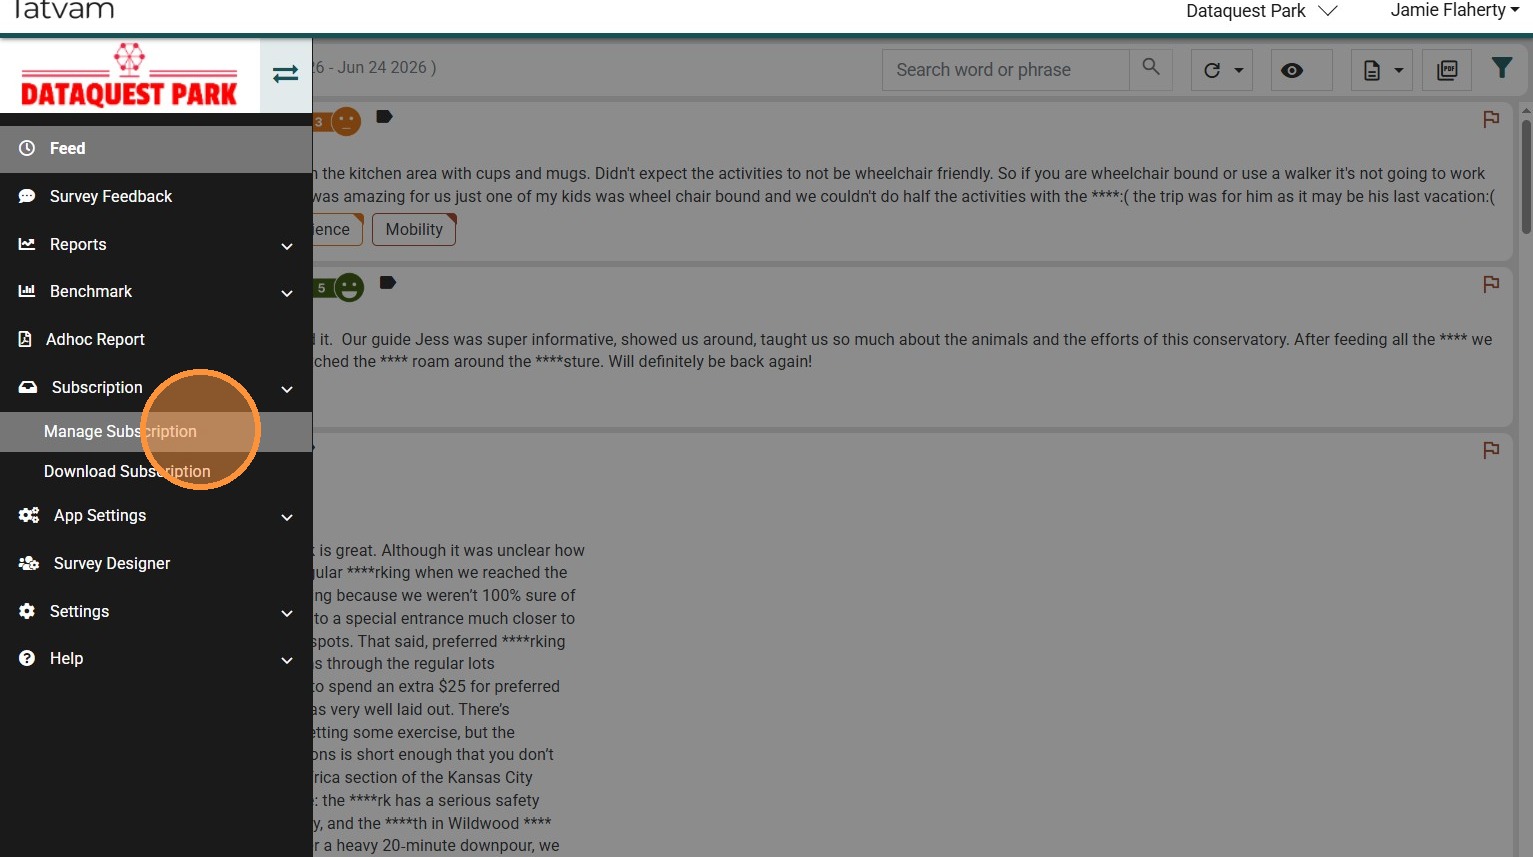
7. Click "Manage Subscription"
8. Click the "Add Circle" to create a new subscription
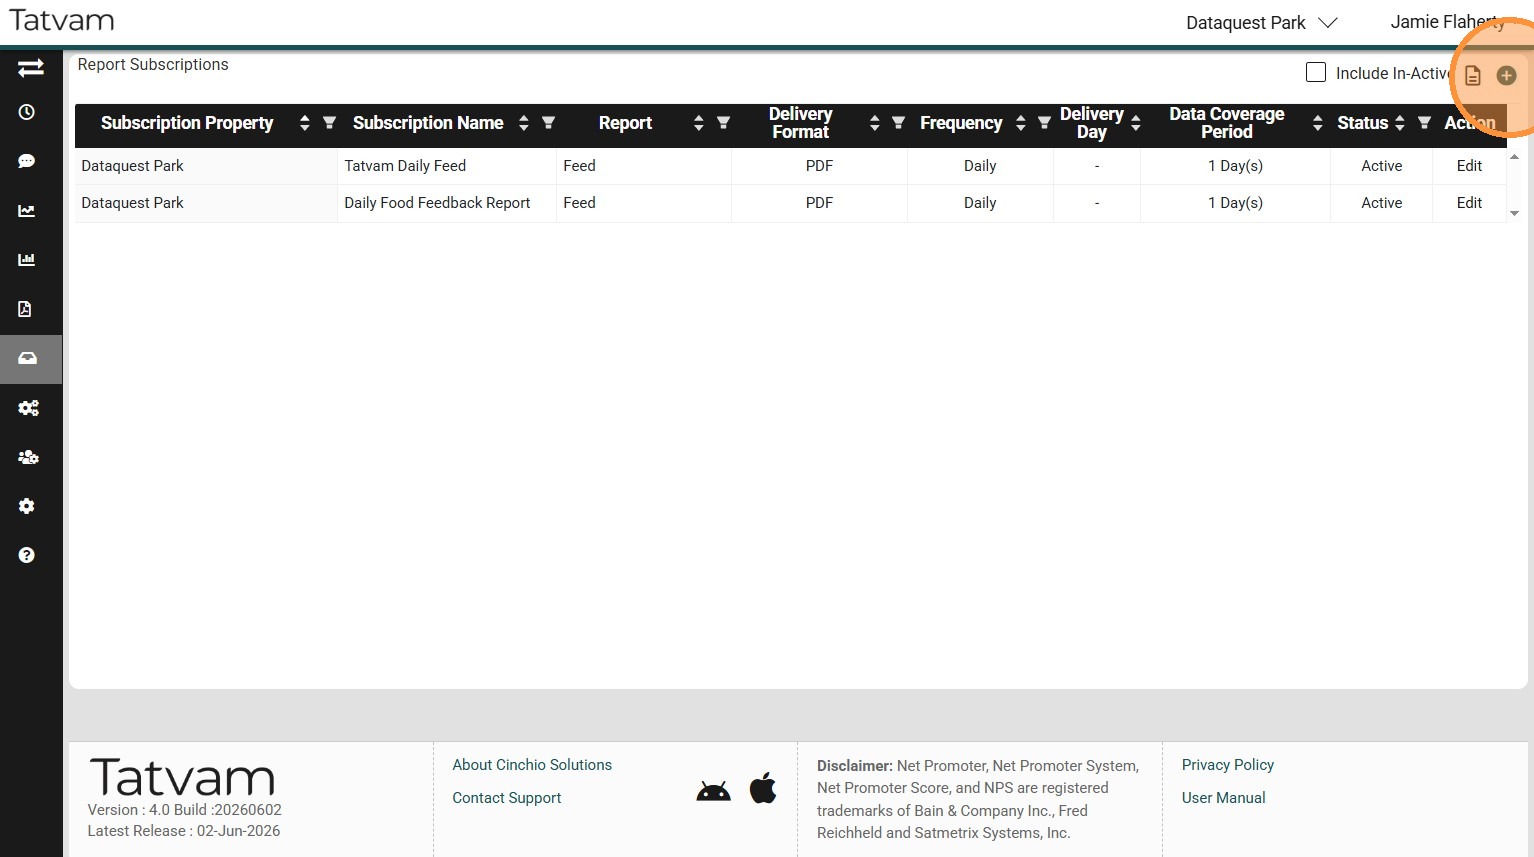
Tip: Tip! If you only need to revise an existing Subscription, you can click the "Edit" link on the Subscription row you wish to make changes.
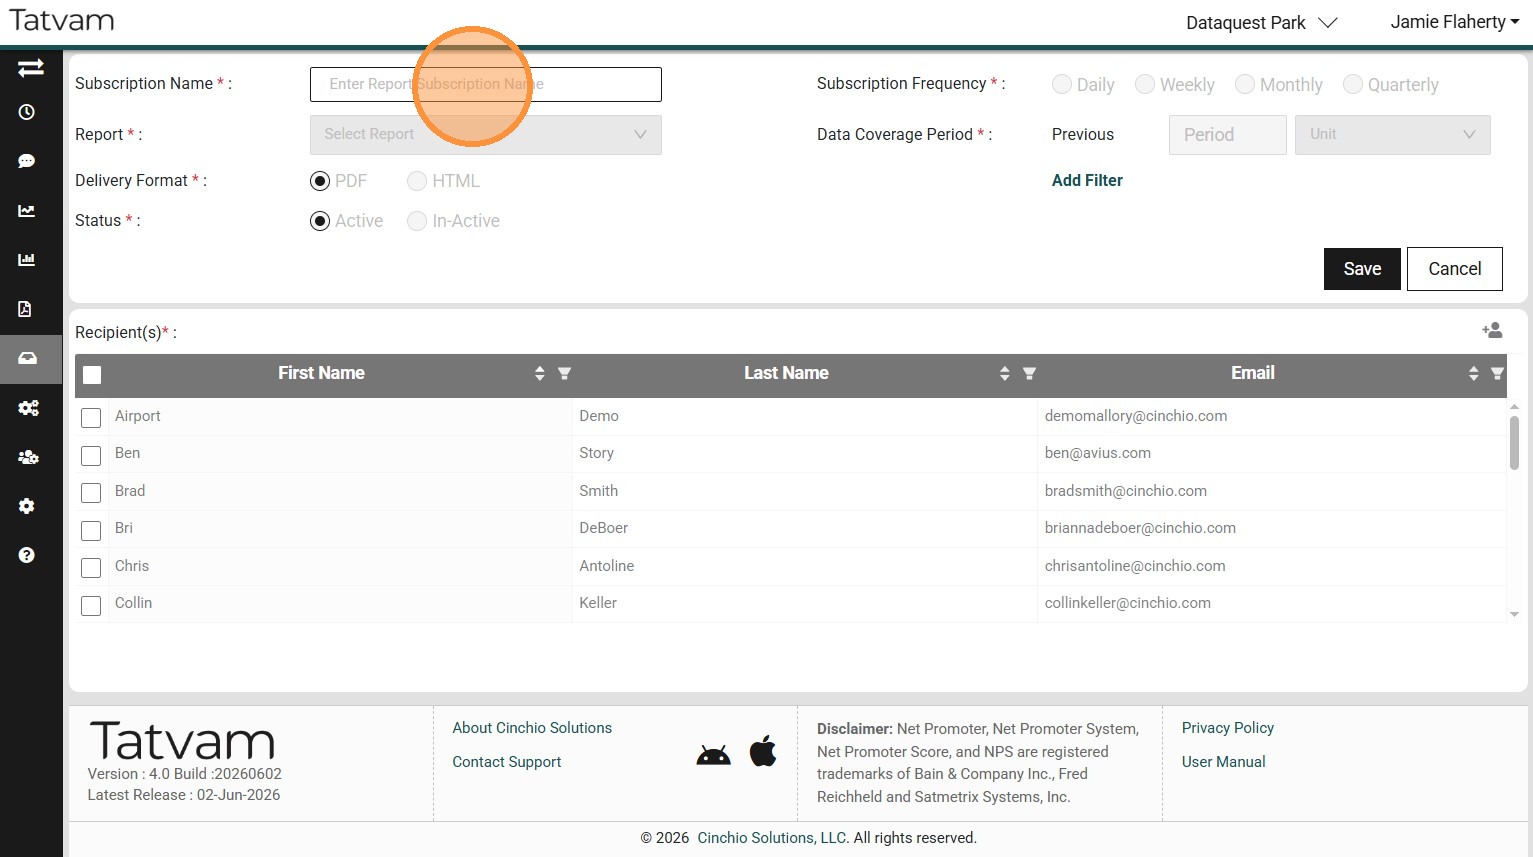
9. Click "Subscription Name * :" field and enter a name of your report
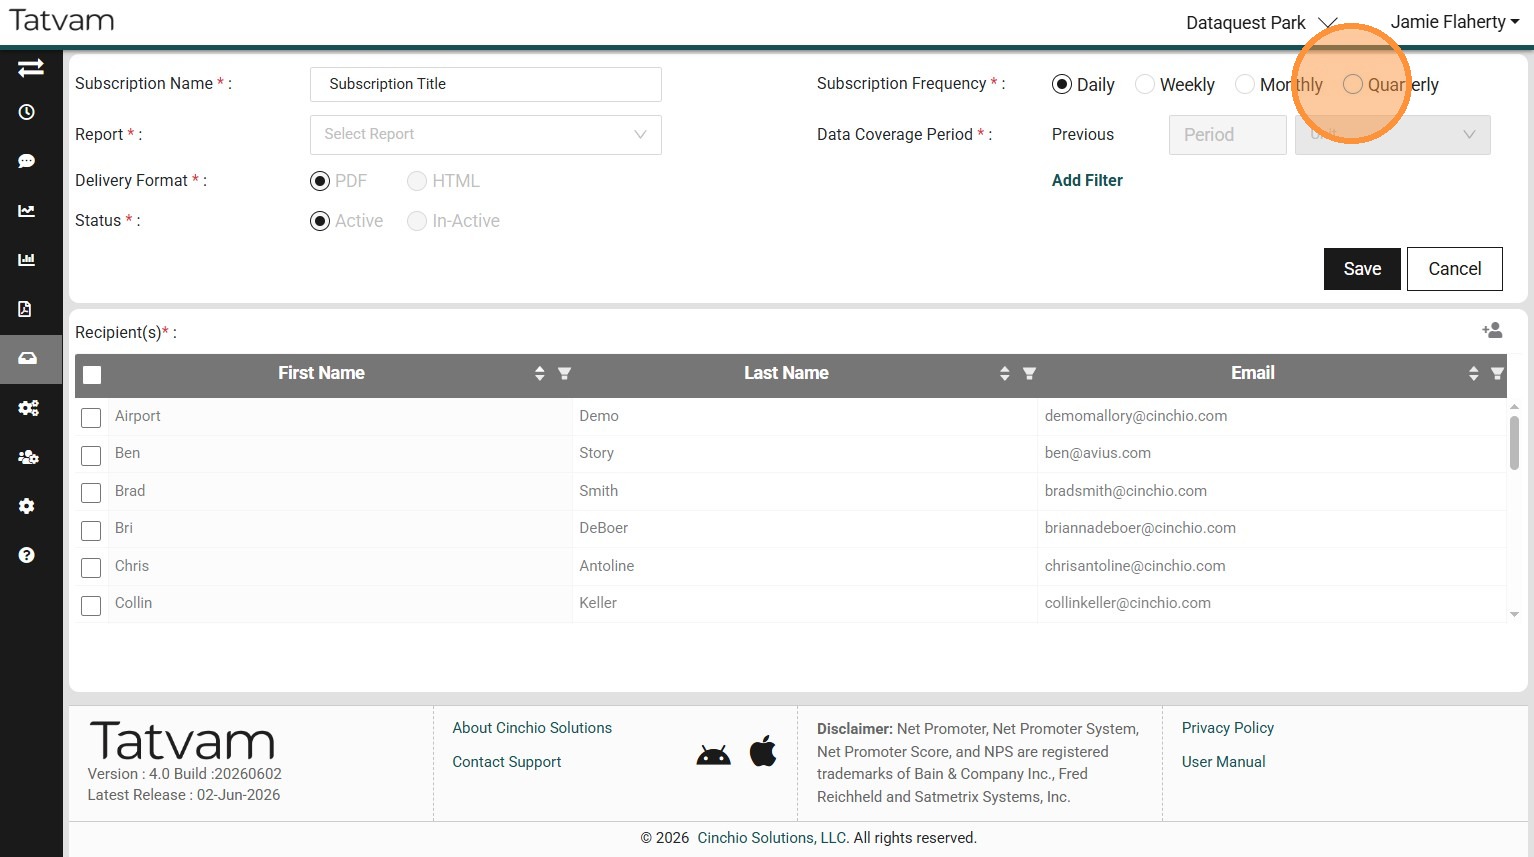
10. Click the "Subscription Frequency" matching how often you would like to receive this email subscription
11. Click the "Report * :" field and select the report you wish to build the subscription for
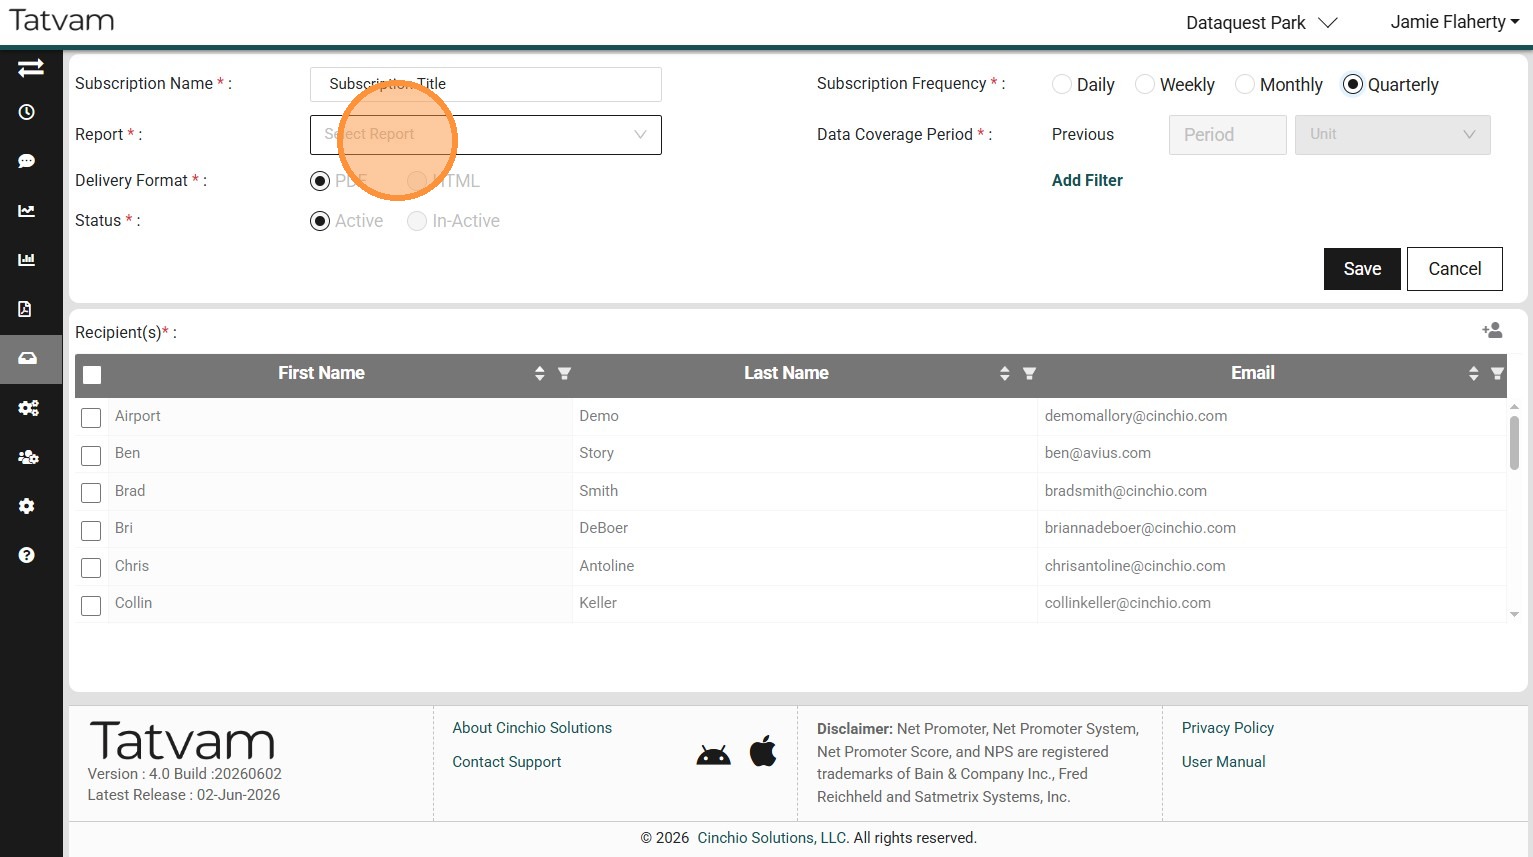
Tip: Tip! Here are some of the common ones
- Feed - this will pull reviews directly from the main Feeds page and most commonly scheduled daily to stay as up to date as possible.
- Voice of Customer - this will pull from the Voice of Customer page and show the data behind the reviews with T-NPS and U-NPS scores. This is most commonly scheduled weekly for those with a high number of reviews weekly or monthly for those with a lesser number of reviews.
- Survey Feedback - similar to the Feed subscription this is commonly scheduled daily and will showcase the surveys that come into Tatvam from the desired timeframe. These surveys must be driven by the survey functionality within Tatvam and not a third-party survey tool.
- Tatvam Monthly (Zoo and Aquarium Only) - this is a monthly report scheduled for the 1st of each month comparing your locations data up against 140+ other zoos and aquariums from the previous month.
- 5-Star Friday - this is a simple motivational report designed for customer facing employees. It's recommended to send this to front line workers and managers each Friday and only includes the 5 star reviews from the last month. A bit of motivation heading into the weekend.
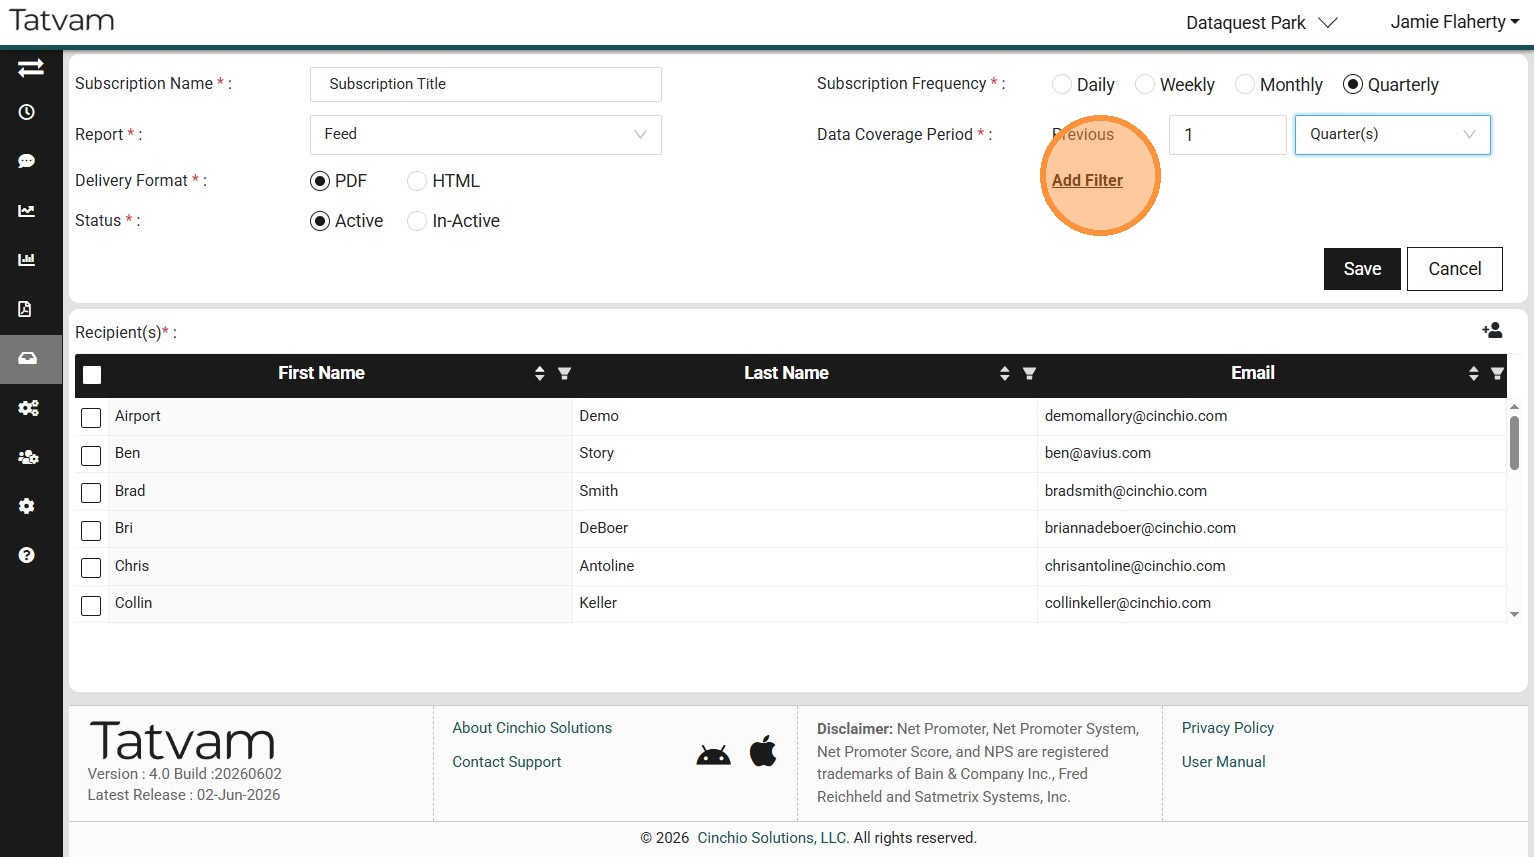
12. Click the "Previous" field and put the period you want to view on the report (i.e. if this is a daily report, then you'll want to put 1 day; if this is a weekly report, you'll want to put 7 days; if this is a monthly report, you'll want to put 1 month, etc.)

13. Click "Add Filter" and select any filters you want applied to the report.
Note: If you want all the data with no filters, you can skip this step.
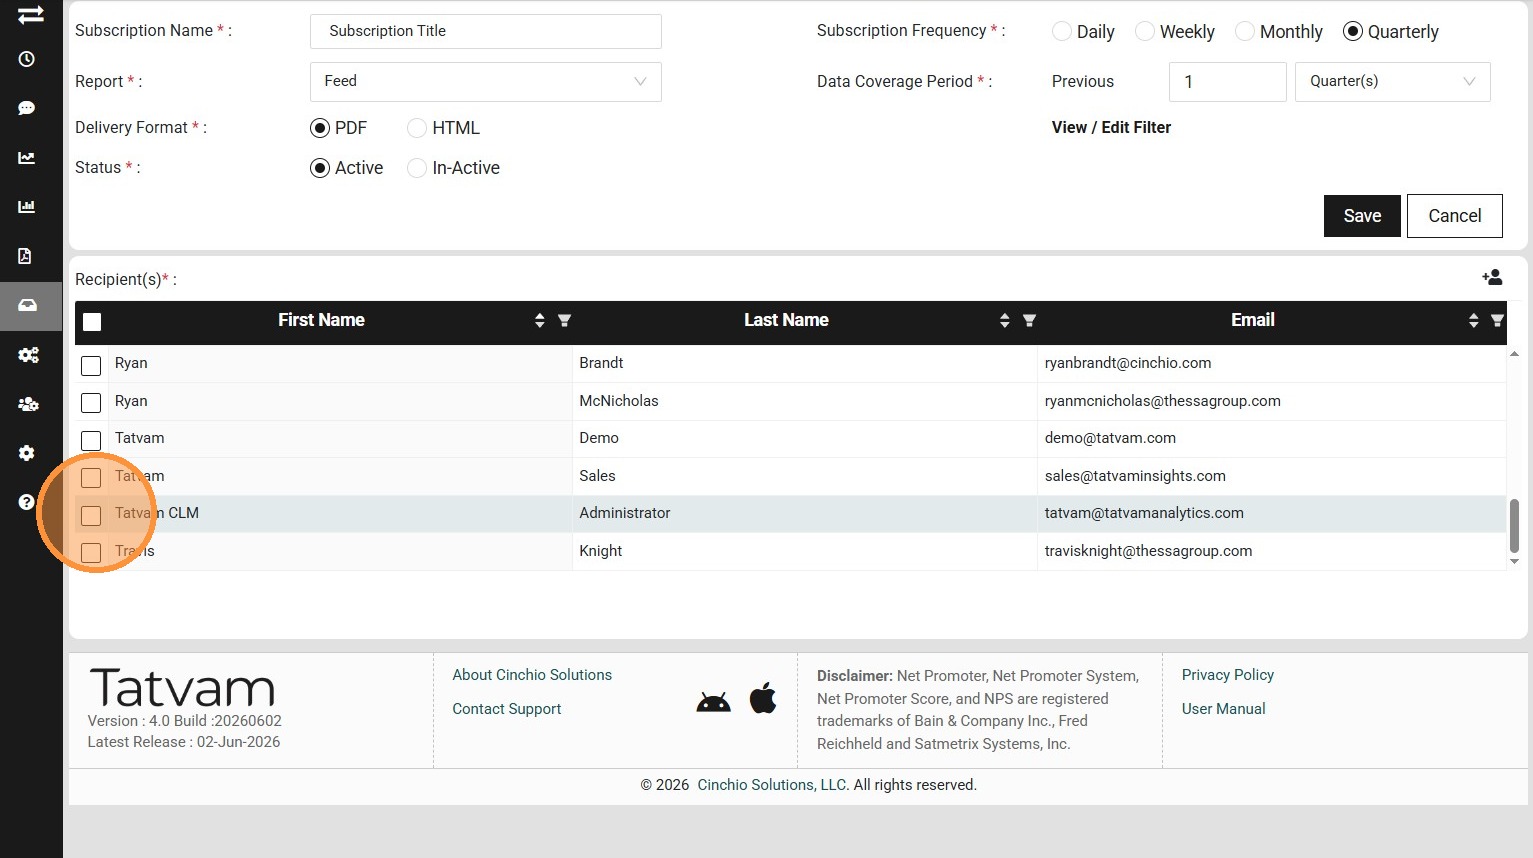
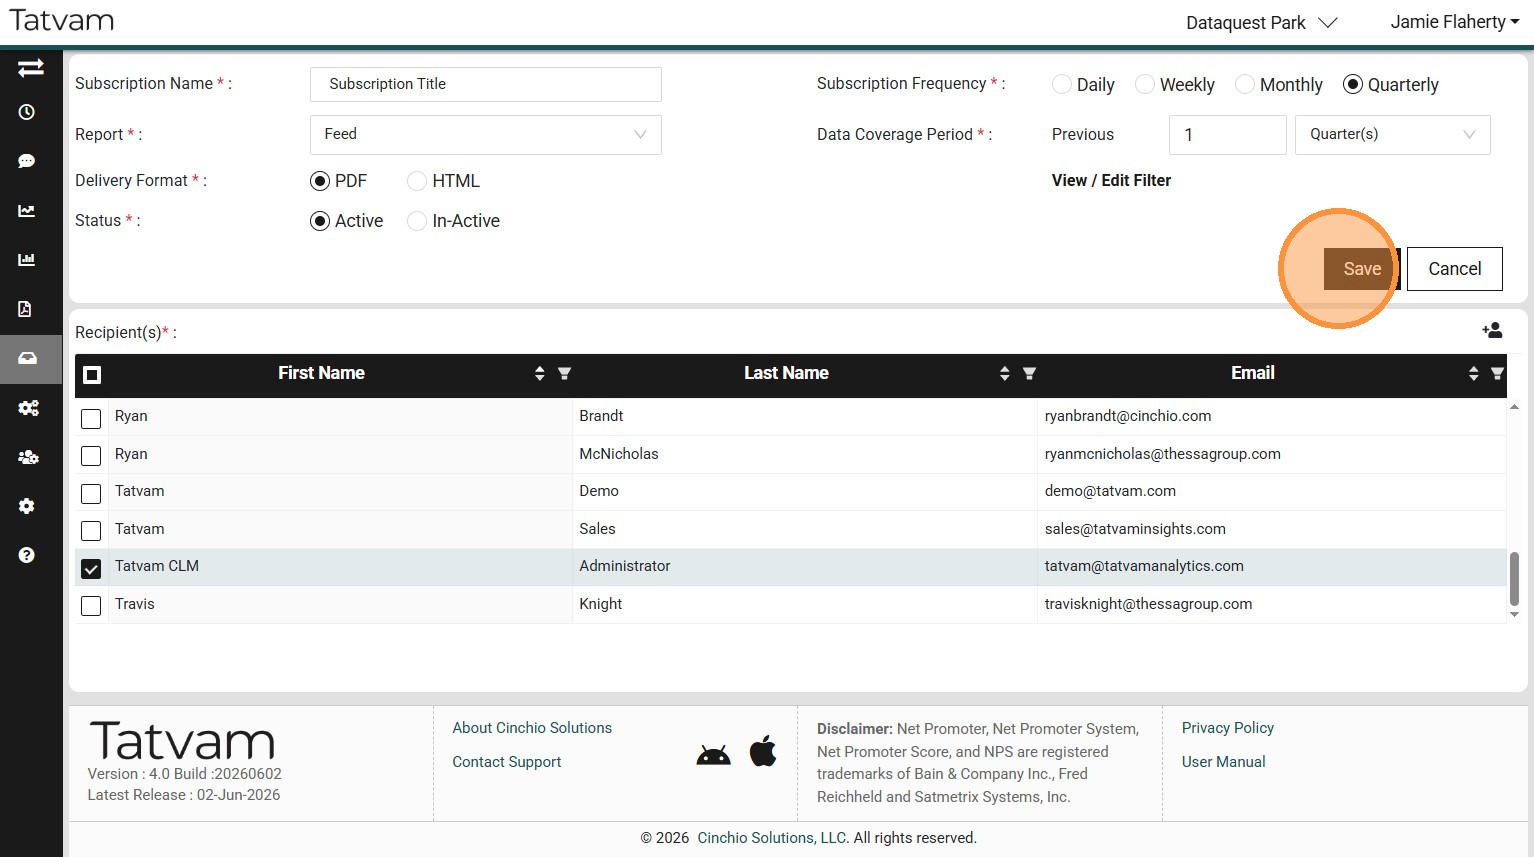
14. Check the boxes next to the people you wish to receive the Subscription
15. Click "Save"
16. Congratulations! Your Subscription is saved and your co-workers will start receiving them tomorrow.

Tip: Tip! Let your selected recipients know to watch for their first email. An initial report will be sent the following day, and future reports will follow the schedule you selected when creating the subscription.
Example: If you create a monthly subscription scheduled for the first day of each month, recipients will receive their first report tomorrow. After that, the report will be sent on the first day of each month.